Documenting your library
If you have followed this guide step-by-step, you should already have a docs/ directory in the projects
working directory containing a Sphinx project. If you skipped that step, now is a good
time to go back and create a Documentation project.
Inside the docs/ directory you’ll find a file called conf.py. This is the configuration file which
Sphinx use to build the documentation. The most important settings should already be added in there by the
sphinx-quickstart command we used earlier, so we’ll just leave that alone.
Writing documentation
Most of the time, the reason for writing 3rd party modules is that we believe we have found a use case for some kind of functionality that is so common and/or generic that we can put in some time and effort now, to save time in the long run. Chances are, that other people might find our module useful too, but we need to tell them (and our future selves) how to use it.
It is therefore crucial that we write good documentation and explain how to use the code.
Index
Inside the docs/ directory you’ll find a file called index.rst. Open it in a text editor and it will
look something like this:
.. test documentation master file, created by
   sphinx-quickstart on Tue Sep  1 15:01:48 2015.
   You can adapt this file completely to your liking, but it should at least
   contain the root `toctree` directive.

Welcome to django-foobar documentation!
=======================================

Contents:

.. toctree::
   :maxdepth: 2

Indices and tables
==================

* :ref:`genindex`
* :ref:`modindex`
* :ref:`search`
Above the Content, start writing a short introduction for your library. It could be a few lines about the
intended use case, target audience, a poem or something else.
As an exercise, let’s document how we can run the test suite for our package. Create a new file called
01-testing.rst next to the index.rst file and modify the .. toctree:: block so it looks like this:
.. toctree::
   :maxdepth: 2

   01-testing
01-testing
Open the newly created 01-testing.rst file, and write the following code:
Running the test suite
======================

In order to run the test suite for ``django-foobar`` run the following command from the
cli:

    .. code-block:: none

        $ python setup.py test

You should see the tests complete without errors!
Let’s go through some of the directives we have used above:
- Headlines
Sphinx is pretty good at determining headline levels, but you must be consistent within the file. It is also pretty common to keep a consistent style for the entire documentation project.
==========
Headline 1
==========

Headline 2
==========

Headline 3
----------

Headline 4
..........
.. code-block:: noneThis defines a new code block. The
noneargument provided indicates the syntax highlighting we want to use. When demonstrating commands to be run,noneis usually a good choice, but Sphinx supports a lot of different syntax highlighting, likepython,ruby,xmland so on.
- Inline blocks
By using double backticks ``this is an inline block``, you can create
inline blocks. They are nice for highlighting important words, class names, and so on.
For a more in-depth guide for writing Sphinx docs, see this guide and the Sphinx primer.
Compile the documentation
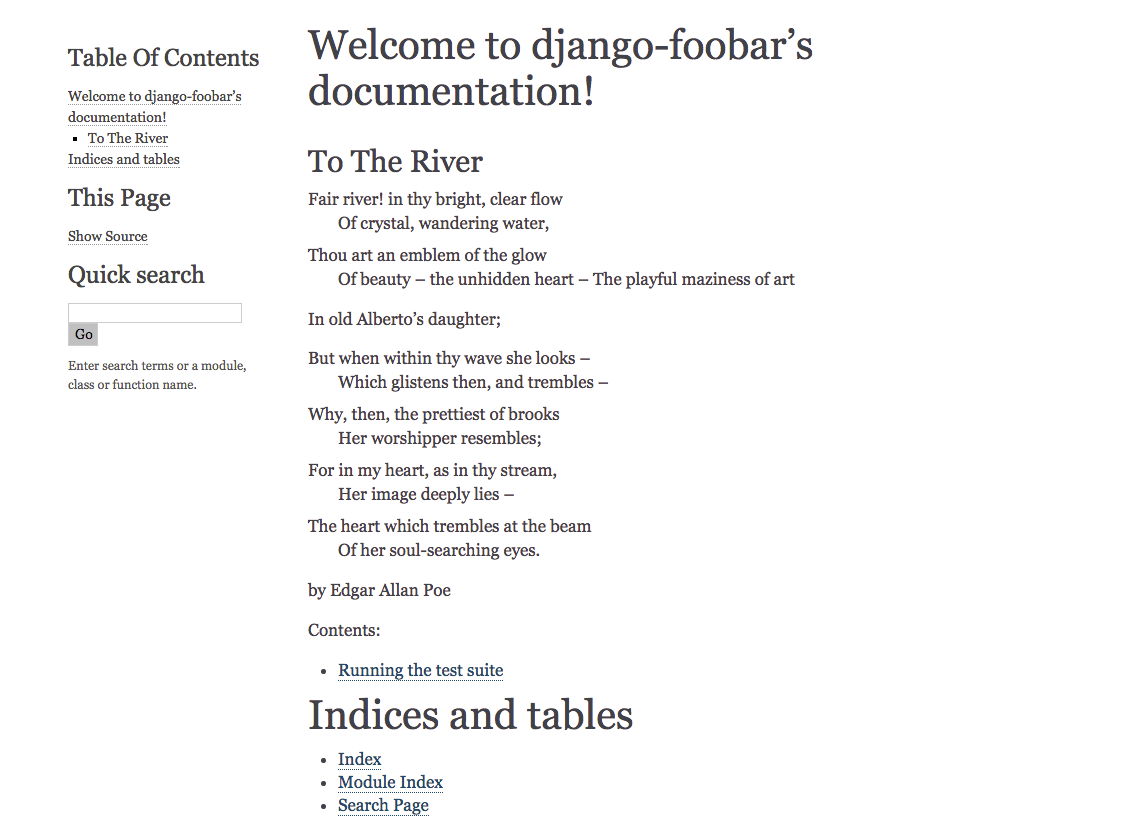
Okay, we have now written some documentation. Let’s compile it to HTML.
Run the following command from the docs/ directory.
$ make html
sphinx-build -b html -d _build/doctrees   . _build/html
Running Sphinx v1.3.1
loading pickled environment... done
building [mo]: targets for 0 po files that are out of date
building [html]: targets for 1 source files that are out of date
updating environment: 0 added, 1 changed, 0 removed
reading sources... [100%] 04-documentation
looking for now-outdated files... none found
pickling environment... done
checking consistency... done
preparing documents... done
writing output... [100%] index
generating indices... genindex
writing additional pages... search
copying static files... done
copying extra files... done
dumping search index in English (code: en) ... done
dumping object inventory... done
build succeeded.
Open the docs/_build/html/index.html file in your web browser.
Read the Docs
Read the Docs is a service for hosting documentation. It’s free for open source projects, so we’ll set it up to host the documentation for us. It can be activated as a Github hook like the Travis CI hook, which means that every time we commit changes to the Github repository the documentation will be rebuilt.
Head over to Read the Docs <https://readthedocs.org/> and create an account
From the drop down menu in the top right corner, click “Add project”
Click the “Import from Github” button
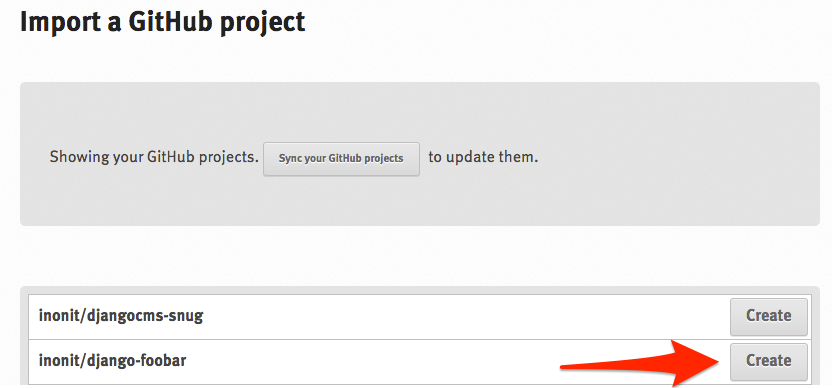
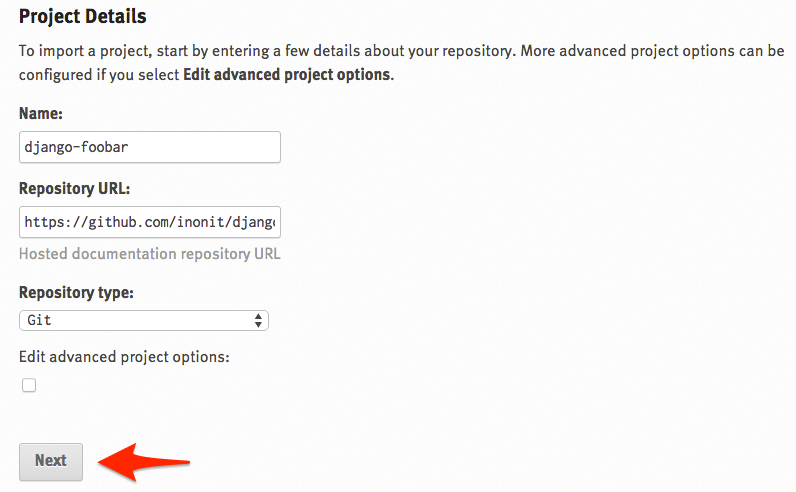
Fill in some details
Authenticate with Github if asked, and accept adding the webhook
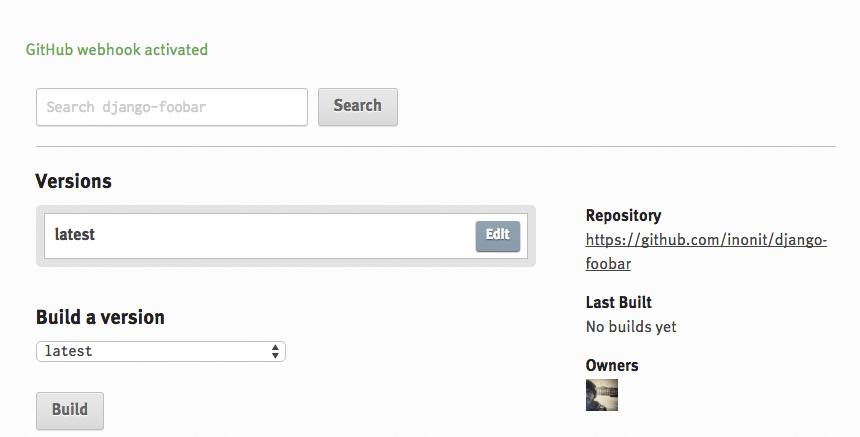
Done =)